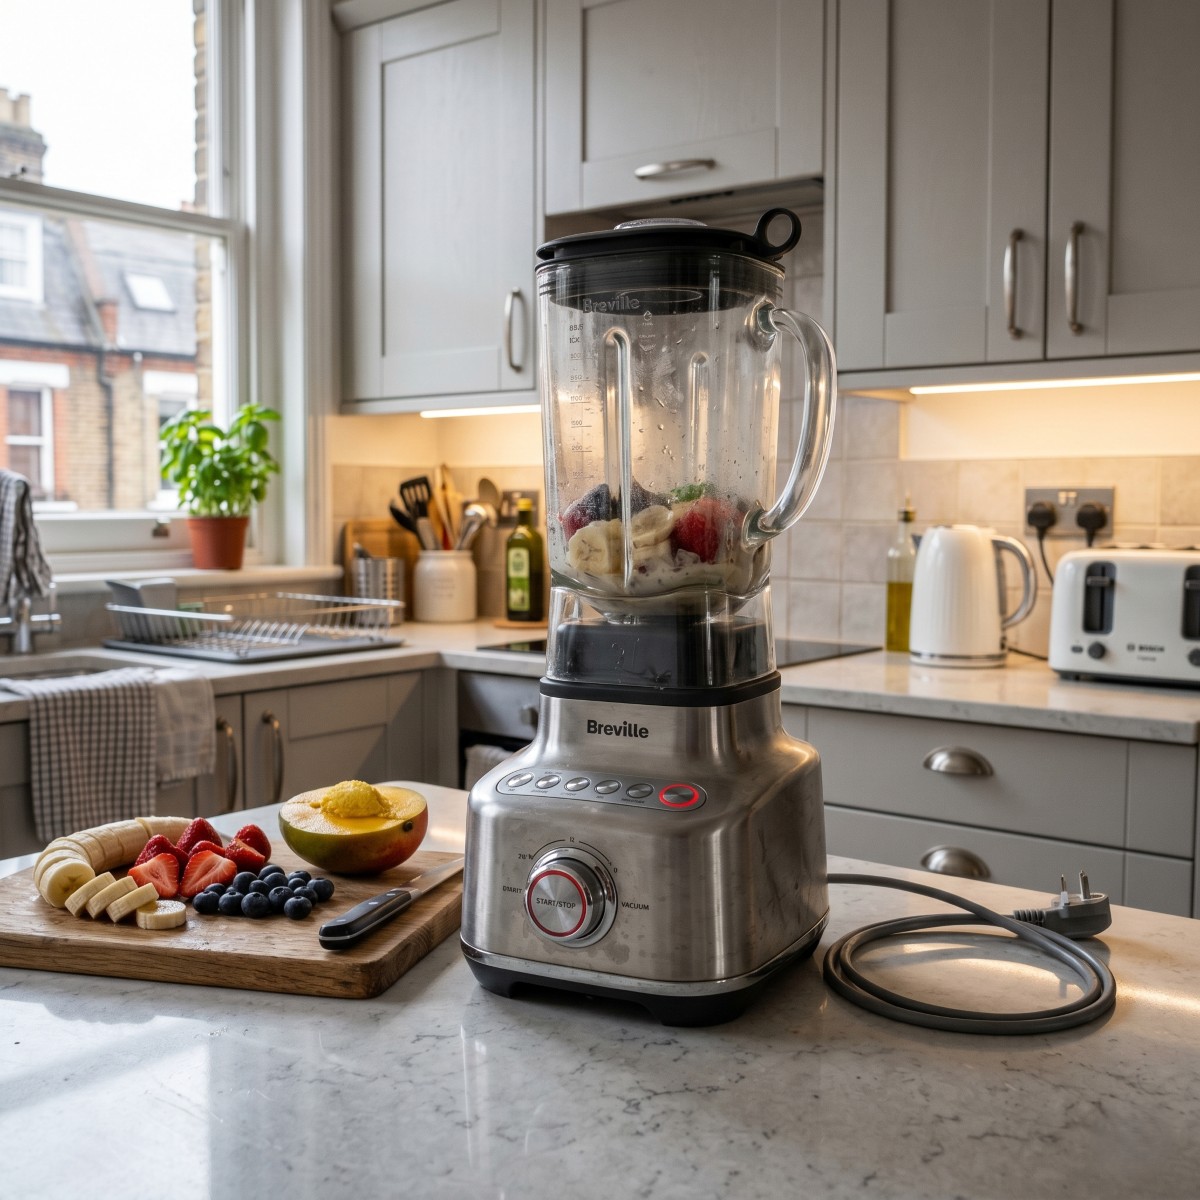
How to Clean Your Blender Base When Smoothie Has Leaked into the Motor Housing
You know something has gone wrong before you even look. There is a smell – warm, sweet, and faintly sour – coming from the kitchen, and it is the specific smell of mango and banana doing something they should not be doing inside an electrical appliance. You lift the blender jar, and there it is: a sticky halo of smoothie residue around the base, a suspicious discolouration in the motor vents, and the dawning realisation that at some point during this morning’s enthusiastic health kick, something leaked somewhere it absolutely should not have.
It is one of the more quietly distressing small domestic discoveries – not dramatic enough to constitute a crisis, but awkward enough to make most people either ignore it until the smell becomes impossible to justify, or reach for the kitchen tap in a way that would make any electrician wince. Neither approach is correct. Here is what actually is.
Why Smoothie in the Motor Housing Is a Bigger Problem Than It Looks
The motor housing of a blender is not, it bears saying plainly, waterproof. It is designed to keep incidental splashes off its exterior, not to contain liquid that has found its way through the blade assembly and into the internal workings. The moment smoothie breaches that boundary, you are dealing with something more serious than a surface cleaning job.
The particular menace of smoothie – as opposed to, say, water – is its composition. Fruit-based blends are rich in natural sugars, which are sticky, hygroscopic, and enthusiastic about fermentation. Once inside the motor housing, that sugary residue begins to dry onto electrical contacts and internal components, leaving a film that attracts moisture, promotes mould growth, and – in a worst case that is unfortunately not especially rare – causes corrosion over time. The burning smell that accompanies a blender with compromised internals is not just unpleasant; it is the motor working harder than it should to overcome resistance it was never designed to encounter.
Addressed promptly and correctly, this is a very manageable problem. Left alone, it becomes an expensive one.
Before You Do Anything: Unplug It and Leave It Unplugged
This is non-negotiable and worth stating before any cleaning advice whatsoever: unplug the blender from the wall immediately, and do not plug it back in until you are completely certain the motor housing is dry. Not mostly dry. Not dry enough. Completely dry.
Liquid and live electrical components have a relationship that does not end well for anyone involved, and the motor housing of a blender contains both metal contacts and wiring that will not distinguish between a tiny amount of residual moisture and a more dramatic quantity of it. The drying stage at the end of this process is at least as important as the cleaning stage – and the temptation to test whether the blender still works before it is fully dry is one to resist firmly.
Assess the extent of the leak before you begin. Tilt the base gently and look at the vent openings on the underside and sides. If there is visible liquid pooling inside, blot what you can reach with a folded piece of kitchen paper before proceeding. If the leak appears extensive – liquid audibly moving inside the housing when tilted – the drying period at the end will need to be correspondingly longer.
What You Will Need
This is not a job for the kitchen cloth and a splash of washing-up liquid. The tools that make it possible to clean a motor housing safely and effectively are specific, and most of them are already somewhere in the house.
You will need cotton buds – generously, not one or two – along with a soft-bristled old toothbrush, a microfibre cloth, distilled white vinegar, bicarbonate of soda, and a supply of kitchen paper. A can of compressed air, of the sort sold for cleaning keyboards, is genuinely useful here and worth having in the house if you do not already; it does work that no physical tool can replicate in a narrow vent. Everything should be applied sparingly and with a light touch. The goal is careful, targeted cleaning – not saturation.
The Cleaning Process: Working Methodically from the Outside In
Start with the Exterior
Dampen a microfibre cloth with a solution of equal parts white vinegar and water – damp, not wet, meaning wrung out firmly before it touches the appliance – and wipe down the entire exterior of the base. Pay particular attention to the seam where the jar sits on the base, which is typically where the initial leak has occurred and where residue tends to accumulate in a sticky ring. Work the cloth into this seam carefully, using a cotton bud for anything the cloth cannot reach.
The rubber feet on the underside of the base are worth checking too. Smoothie has a talent for wicking beneath them, where it sits quietly and grows mould with minimal interference. Lift each foot if possible and clean beneath it.
Cleaning the Vents
The vents are where patience becomes genuinely necessary. These are the narrow openings – usually on the underside or lower sides of the housing – through which the motor breathes, and they are precisely the route through which leaked smoothie travels toward the internal components.
Use a dry cotton bud first, working it carefully into each vent opening with a gentle rotating motion to collect any dried residue. Replace the bud frequently – you will go through more than feels reasonable, and that is fine. Follow with a cotton bud very lightly dampened with the vinegar solution for anything that remains, then a final dry pass. If you have compressed air, a short burst directed into each vent after the manual cleaning will dislodge residue from areas the cotton bud cannot physically access, and the results are satisfying in a way that is difficult to adequately explain.
Do not use a toothbrush directly on the vent openings – the bristles are too wide to be precise and risk pushing residue further in rather than drawing it out.
Dealing with Dried or Fermented Residue
If the leak was not discovered immediately – or if the blender has been quietly fermenting on the worktop for a day or two – the residue inside the vents and around the seams will have hardened and potentially begun to smell in the way that only fruit sugar actively decomposing can manage.
A paste of bicarbonate of soda and a small amount of white vinegar, applied to the exterior seam and any accessible hardened residue with a toothbrush, will break down even fairly committed dried smoothie. Work it in with light circular strokes, leave it for two to three minutes, then wipe away with a damp cloth followed immediately by a dry one. For vent residue that has hardened, a cotton bud dampened with undiluted white vinegar and held against the residue for thirty seconds will soften it sufficiently to remove. Repeat as necessary – older residue may need two or three passes.
The smell of fermented fruit inside the housing can linger even after the physical residue has been removed. Leaving a small open dish of bicarbonate of soda next to the blender base during the drying period helps considerably.
Drying: The Step That Decides Everything
Once cleaning is complete, the motor housing needs to dry thoroughly before the blender is used again – and thoroughly means more than an hour on the worktop. The internal components of a motor housing retain moisture in ways that are invisible from the outside, and the airflow through the vents that makes the motor function also makes complete drying slower than it appears.
Place the base upside down on a clean, dry surface in a warm room – an airing cupboard is useful here, provided it is not near a source of steam. Leave it for a minimum of twenty-four hours. If the initial leak was significant, forty-eight is a more sensible target. Before plugging back in, give the vents a final pass with compressed air or a dry cotton bud, and check for any remaining odour. A motor housing that still smells of smoothie is a motor housing that is not yet fully dry.
How to Stop It Happening Again
The most common cause of smoothie in the motor housing is not a manufacturing defect – it is overfilling. Most blender jars have a maximum fill line that exists for a reason, and that reason is that liquids expand and pressurise when blended at speed. Dense smoothies with frozen fruit, nut butters, or thick yoghurt are particularly prone to forcing liquid downward through the blade gasket when the jar is overfilled.
Check the rubber gasket – the seal that sits between the blade assembly and the jar – regularly. It should be pliable, intact, and seated evenly. A gasket that has hardened, cracked, or shifted out of position will leak under pressure regardless of how carefully you fill the jar. Replacements are available for most blender models and are among the cheaper maintenance purchases it is possible to make.
Blending dense mixtures in short pulses rather than a sustained run reduces the pressure that builds in the jar, and adding liquid to the base before frozen or solid ingredients makes the whole process considerably less mechanically stressful on the seal.
When the Damage May Already Be Done
If the leak went unnoticed for some time, or if the blender is showing signs of distress beyond the smell, it is worth knowing what to look for before assuming a thorough clean has resolved everything.
A burning smell that persists after the first use post-cleaning, inconsistent motor speeds, a blender that trips the kitchen circuit, or any visible sparking are all signs that the internal components have sustained damage that cleaning cannot address. At that point, the question is repair versus replacement – a decision worth taking to the manufacturer or an appliance repair service rather than making unilaterally with a screwdriver and optimism. Some blenders are worth repairing. Others are an opportunity to reconsider whether the model with the better gasket design might be the wiser long-term investment.